Installation
PowerAim is a portable Windows desktop app. There is no required installer — you can run it from any folder, including a USB stick. An optional installer is provided that creates Start-menu shortcuts and a Programs-and-Features entry.
1. Install the prerequisites
Both are one-time installs. Skip whichever you already have.
- .NET Runtime 10 (x64) — download here
- Pick the Desktop Runtime (not the SDK) unless you plan to build PowerAim from source.
- Visual C++ 2015-2022 Redistributable (x64) — download here
Both must be x64 — PowerAim does not work with the x86 / ARM variants. If you accidentally install x86, uninstall it and grab x64.
2. Pick a build: DirectML or CUDA
PowerAim ships two release flavors:
| Build | File name pattern | Hardware |
|---|---|---|
| DirectML (default) | PowerAim-*.zip or PowerAim-*-Installer.exe |
Any DX12-capable GPU |
| CUDA (faster on NVIDIA) | PowerAim-*_cuda.zip or *_cuda-Installer.exe |
NVIDIA GPU + CUDA 12.x runtime |
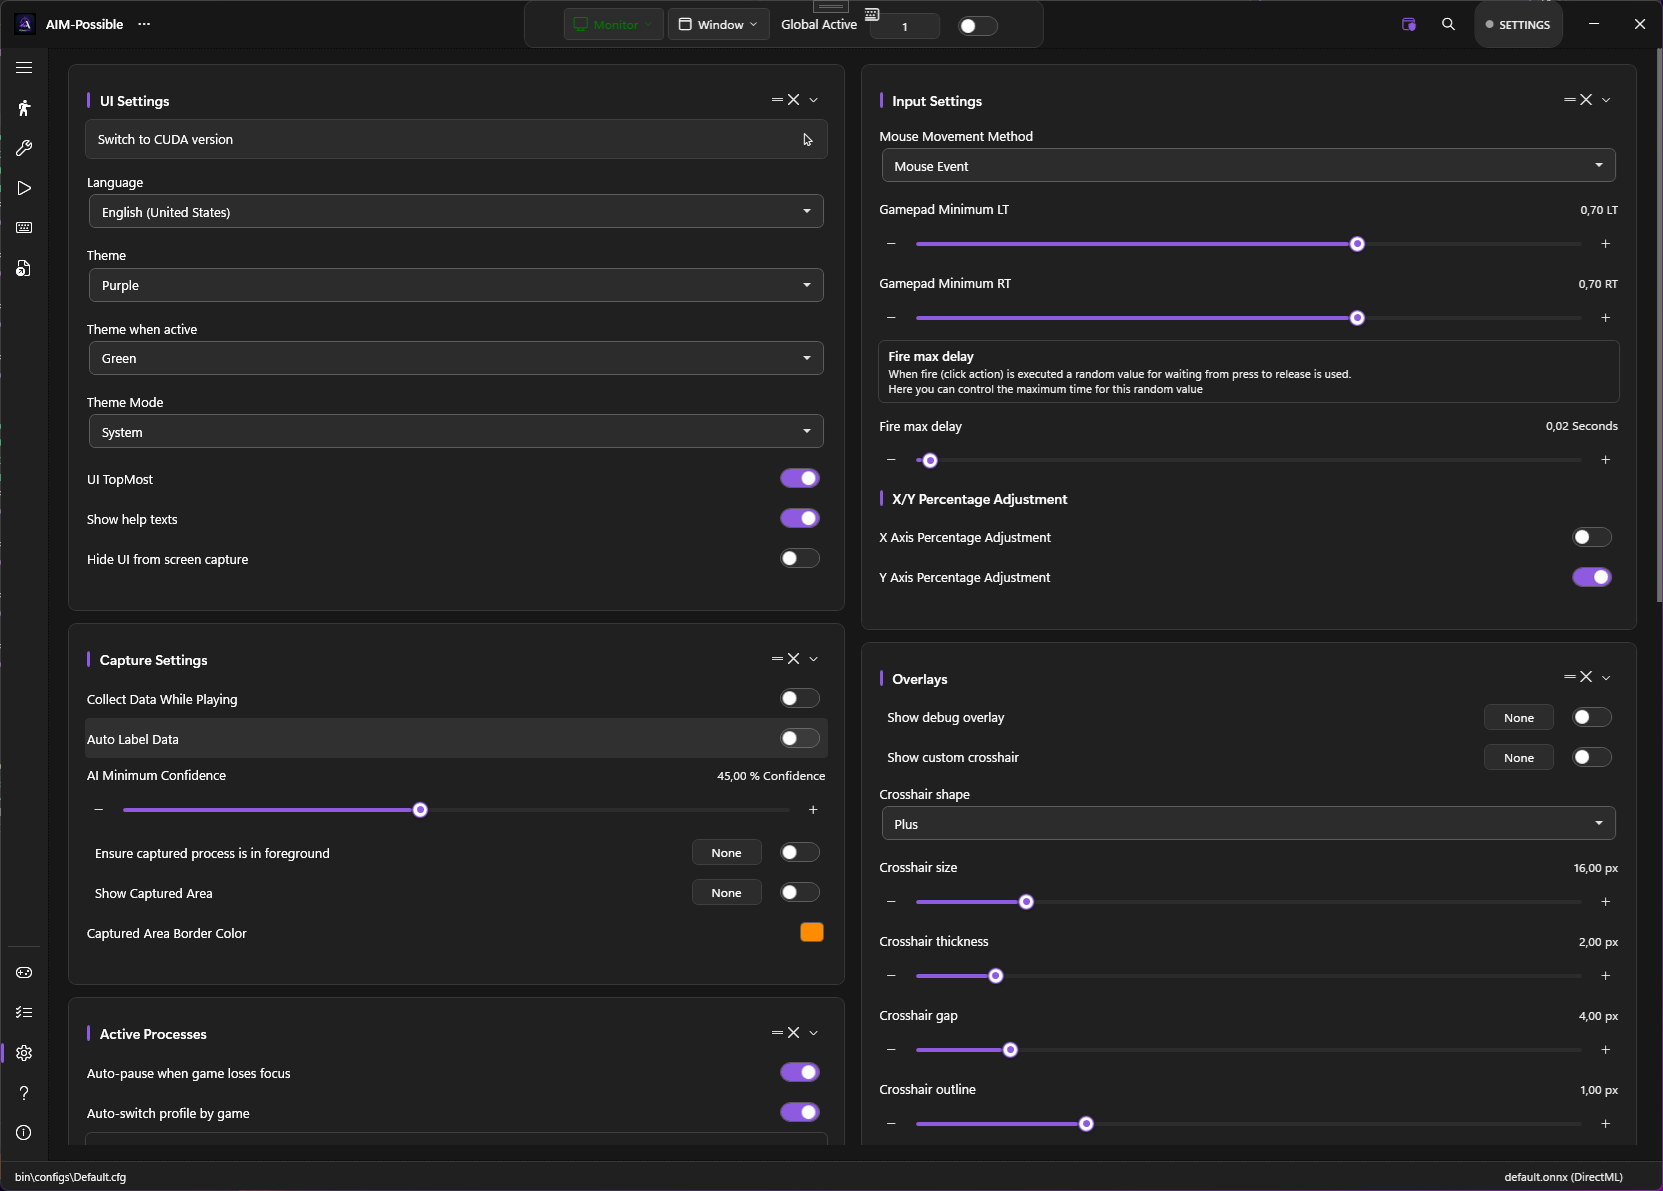
If unsure, start with DirectML. You can switch later from the Settings page without losing your config.
3. Download
Grab the latest release from the Releases page. Each release has four assets:
PowerAim-x.y.z.zip                  # DirectML, portable
PowerAim-x.y.z-Installer.exe        # DirectML, with installer
PowerAim-x.y.z_cuda.zip             # CUDA, portable
PowerAim-x.y.z_cuda-Installer.exe   # CUDA, with installer
4. Install
Option A — Installer (recommended)
Run PowerAim-*-Installer.exe. It places PowerAim into %LocalAppData%\Programs\PowerAim, adds a Start-menu shortcut, and registers an uninstaller. No admin rights required.
Option B — Portable
Extract the .zip to a folder of your choice (e.g. C:\Tools\PowerAim). Run PowerAim.exe from inside.
The first launch is slower than subsequent ones — PowerAim probes DXGI support, loads ONNX models, and initializes the binding hook. After that, cold start is under 2 seconds on most machines.
5. (Optional) Install ViGEmBus
If you plan to use any gamepad feature — controller mapping, AutoPlay with gamepad output, or “Use controller for aim” — install ViGEmBus.
Easiest path:
- Launch PowerAim
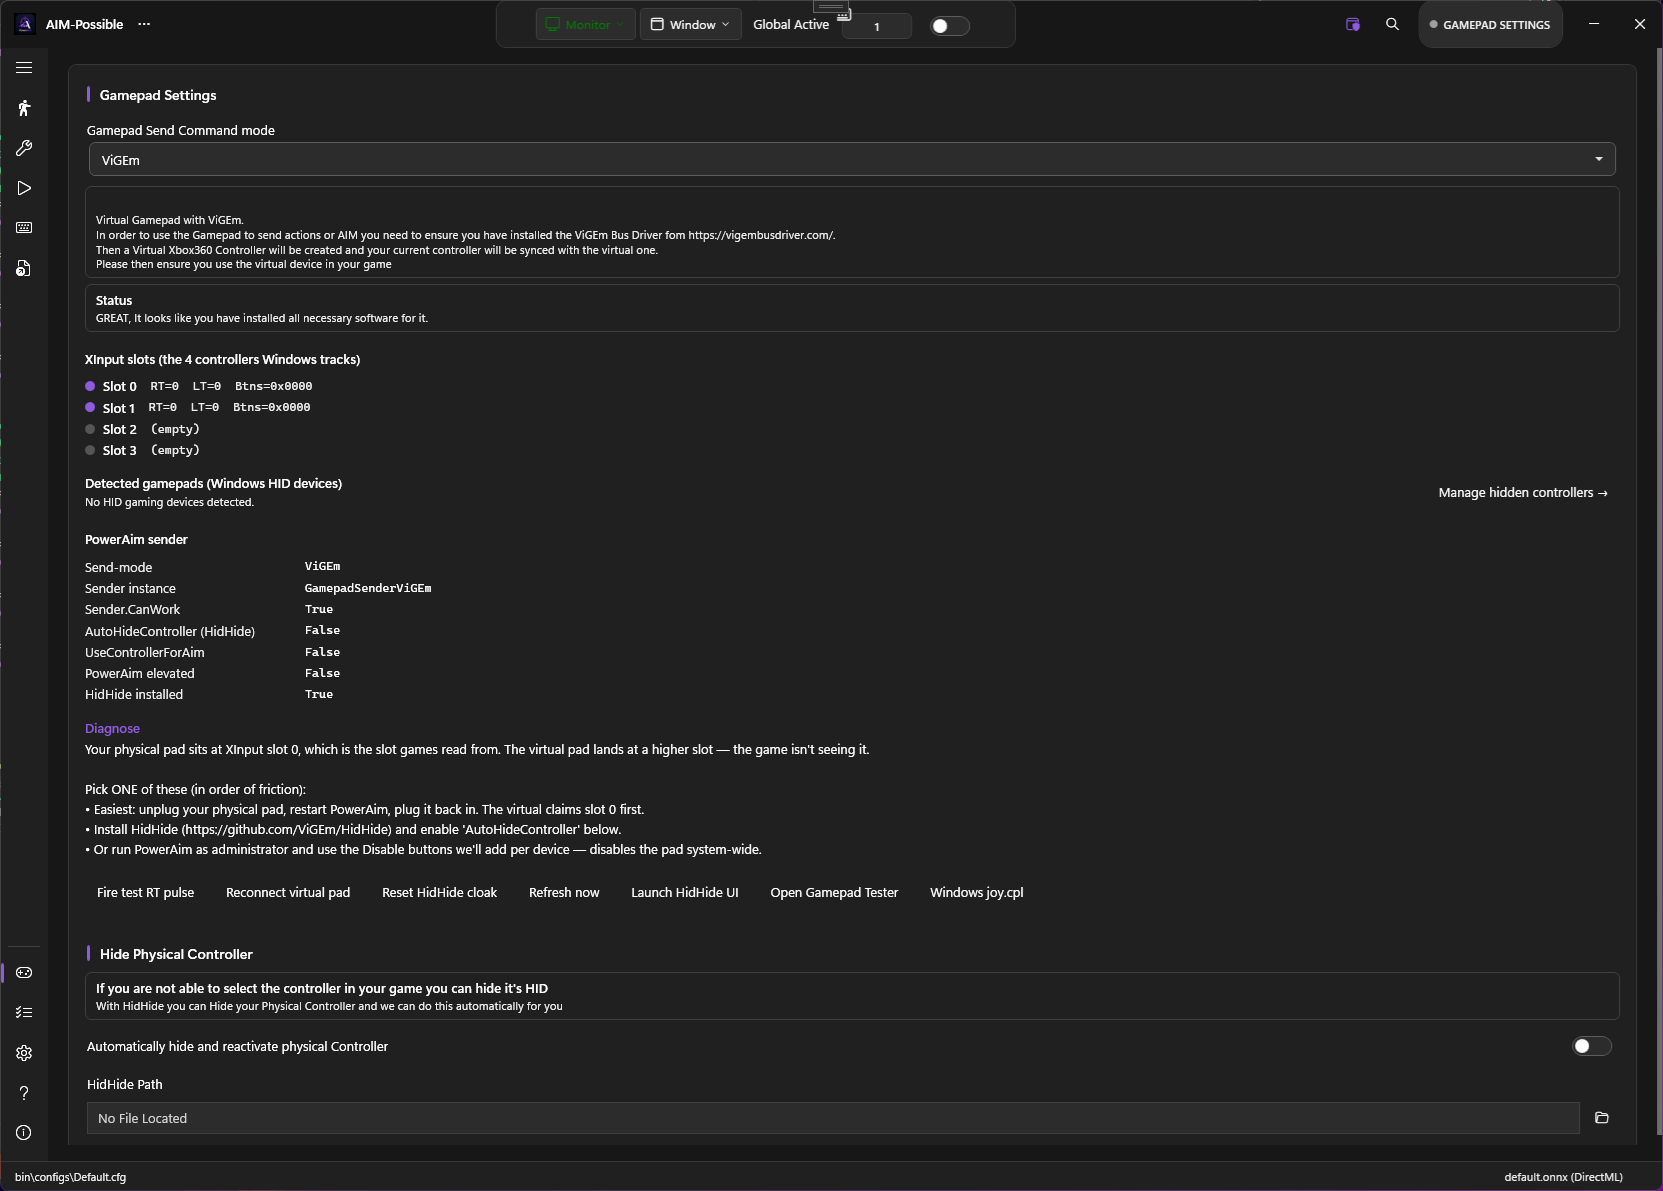
- Open Gamepad in the sidebar
- Click “Get ViGEmBus driver” — it opens vigembusdriver.com in your browser
- Download and run
ViGEmBus_Setup_x.x.xx_x64.exe - Back in PowerAim, click any other sidebar item then click Gamepad again — the status line should now say “PowerAim is ready to send Gamepad signals”
6. (Optional) Install HidHide
Only needed if you want to cloak your physical controller from games while a mapping profile is active. PowerAim ships the installer — on the Gamepad settings page, click “Install HidHide” and follow the prompts. A reboot is required.
See Hidden Controllers for what HidHide does and when you need it.
Where PowerAim stores its data
| Location | What lives there |
|---|---|
<install dir>\bin\models\*.onnx |
Bundled and downloaded ONNX models |
<install dir>\bin\configs\*.cfg |
Saved configuration presets |
<install dir>\bin\anti_recoil_configs\* |
Per-gun recoil config files |
%AppData%\AI-M\LastConfigPath.cfg |
Pointer to the config that was loaded last |
%LocalAppData%\PowerAim\tessdata\ |
Tesseract OCR data |
%LocalAppData%\PowerAim\replays\ |
Replay-buffer export folder (default) |
%LocalAppData%\PowerAim\autoplay_model.json |
Recorded AutoPlay learning model (default) |
The whole app is portable — copying the install directory to another machine preserves all bundled assets. Per-user state lives under %LocalAppData% and %AppData% and is not copied.
Uninstalling
- Installer build: Settings → Apps → PowerAim → Uninstall
- Portable build: delete the folder. Optionally also delete
%LocalAppData%\PowerAimand%AppData%\AI-M.
If you installed ViGEmBus and / or HidHide and want them gone too, uninstall them separately from Windows Settings.
Updating
PowerAim ships with an in-app update checker. When a new release is available you’ll see a notice bar at the bottom of the window — click it to open the UpdateDialog, which downloads and applies the new build in place.
If you’d rather update manually, just download a fresh release and overwrite the install directory. Your config (under bin\configs\ and %AppData%\AI-M\) is preserved.