Training Your Own Model
You can train a YOLOv8 model on your own labelled data and export it to ONNX for PowerAim. PowerAim picks up dynamic input shapes and multi-class metadata automatically.
This page is the short, opinionated version. For a full walkthrough, see the video tutorial linked at the bottom.
The pipeline
Capture frames → Auto-label / hand-label → Train YOLOv8 → Export to ONNX → Drop into bin/models/
1. Capture frames
PowerAim ships built-in capture for training data:
- Settings → Collect Data While Playing — saves the FOV-cropped frame on each detection
- Settings → Auto-Label Data — also writes a YOLO
.txtlabel file based on the current model’s predictions (the “auto-label” trick) - Captured frames land in
bin\images\
For a fresh class with no existing model, just capture frames manually. The Replay Buffer is also a quick way to grab clean frames.
2. Auto-label with MakeSense.ai
The repo includes a TFJS export under Universalv3_web_model/ specifically for auto-labelling new data via MakeSense.ai:
- Open makesense.ai
- Load your captured images
- Pick Object Detection as the task
- Choose AI / YOLOv5 (TensorFlow.js) under the AI assistant
- Upload the
Universalv3_web_model/files - Run the model — most of your frames get auto-labelled
- Hand-correct the obvious misses
Export labels in YOLO format.
3. Train YOLOv8
Use Ultralytics’ YOLOv8 trainer. Minimal example (Python):
from ultralytics import YOLO

# Start from a pretrained checkpoint
model = YOLO("yolov8n.pt")  # or yolov8s.pt / m / l / x depending on GPU

model.train(
    data="dataset.yaml",   # standard YOLO dataset config
    epochs=100,
    imgsz=640,
    batch=16,
    name="poweraim-model",
)
A typical dataset.yaml:
path: ./dataset
train: images/train
val: images/val

names:
  0: Enemy
  1: Teammate
PowerAim reads the names field from ONNX metadata, so multi-class models work out of the box.
4. Export to ONNX
model.export(format="onnx", dynamic=True, simplify=True)
Key flags:
dynamic=True— exports with dynamic axis. PowerAim respects this and lets users pick image size at runtime.simplify=True— strips redundant ops. Smaller file, faster load.opset=12or higher — matches what ONNX Runtime expects.
The exported file lands as runs/detect/poweraim-model/weights/best.onnx.
5. Drop into PowerAim
Copy best.onnx into <PowerAim install>\bin\models\ (rename to something descriptive — MyGame_v1.onnx).
Restart PowerAim or click refresh on the Models tab — your new model appears in the local list. Click to load.
Tips for high-quality models
- Use a YOLOv8 architecture. PowerAim’s inference pipeline is built around YOLOv8’s anchor-free output. Other YOLO versions may work but are not officially supported.
- Input size 192 to 1280, multiple of 32. PowerAim auto-detects this from metadata.
- Multi-class support. List class names in the
namescustom metadata field. - Thousands of varied images. Different maps, weapons, lighting, view angles. Detection quality is bottlenecked by training data, not by inference.
- Test in-game with
Show Detected Playerenabled. Verify class confidences are reasonable (>= 0.5 for clear targets).
Video walkthrough
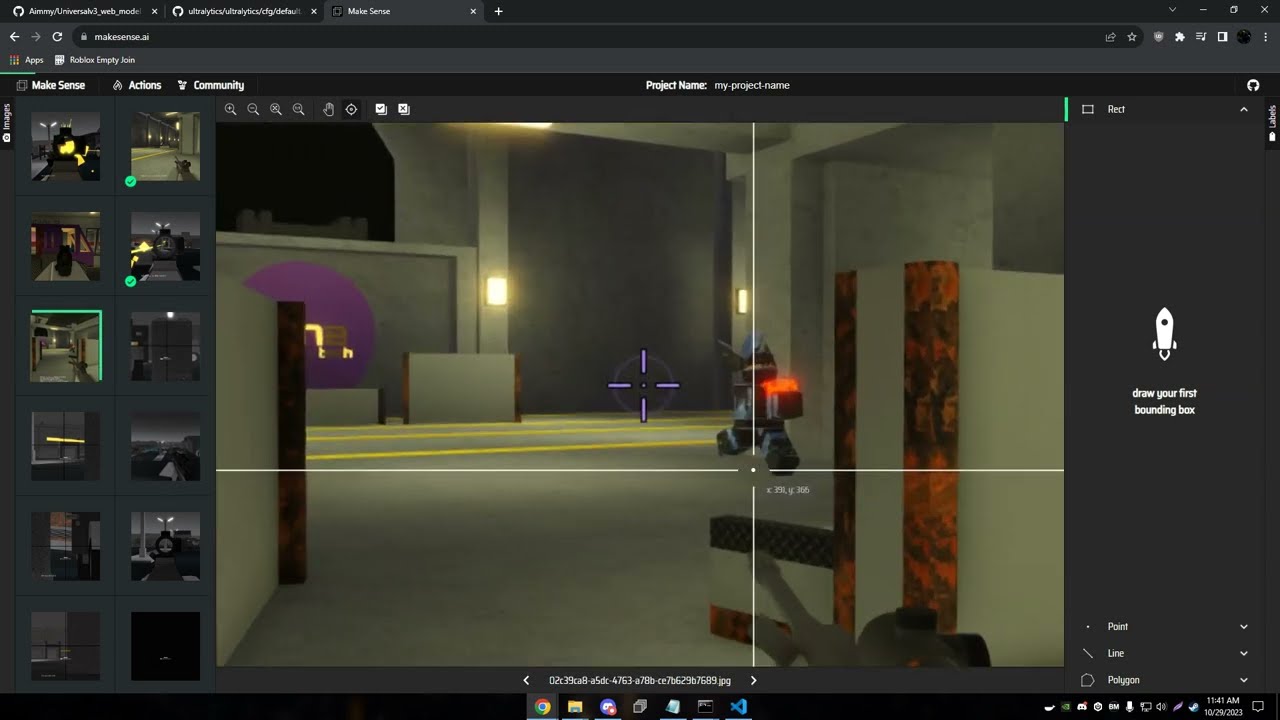
A short walkthrough video showing the MakeSense.ai labelling → YOLOv5/8 training → PowerAim drop-in workflow.
See also
- Using Models — switching, benchmarking, image-size override
- Contributing Models — share your model with the community